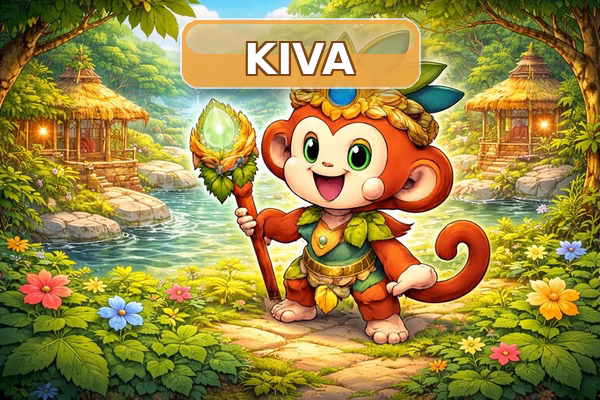
KIVA Tribe Guide
POCA → KIVA (the bridge)
POCA teaches control. KIVA tests responsibility.
If POCA is where you learn not to burn credits on panic retries, KIVA is where you prove you can manage a longer climb—more stages, more total cost, and more chances to slip if you play on tilt.
Important note: Credits are an in-game currency used inside Bingo Shake and have no cash value.
What KIVA is
KIVA is the next tribe after POCA, built around 12 stages. The longer structure is the point: KIVA isn’t meant to feel like a quick sprint. It’s meant to feel like a full journey where consistency matters more than “one lucky clear.”
Your goal is still simple:
Conquer stages → complete the KIVA puzzle → unlock the daily tax reward.
What you unlock after fully conquering KIVA
Once you fully conquer KIVA, you unlock:
✅ KIVA Daily Tax (Tribute): 100 credits per day
- Claimable every day (daily claim)
This is the KIVA-tier daily baseline—meant to support you as you keep progressing beyond POCA.
KIVA conquest overview (how it works)
- KIVA has 12 stages
- Each stage gives puzzle pieces and a one-time stage completion reward
- When you finish all 12 stages and complete the puzzle, KIVA is fully conquered and the daily tax reward becomes available.
Recommended page layout (same as POCA):
Stage heading → image → short “what this stage is” paragraph → puzzle pieces + one-time reward lines
KIVA stages (1–12) — villages + rewards
Formatting tip (same as POCA): Put the village image under each stage heading, then the short paragraph, then the two data lines.
Stage 1 — Bamboo Watchpost
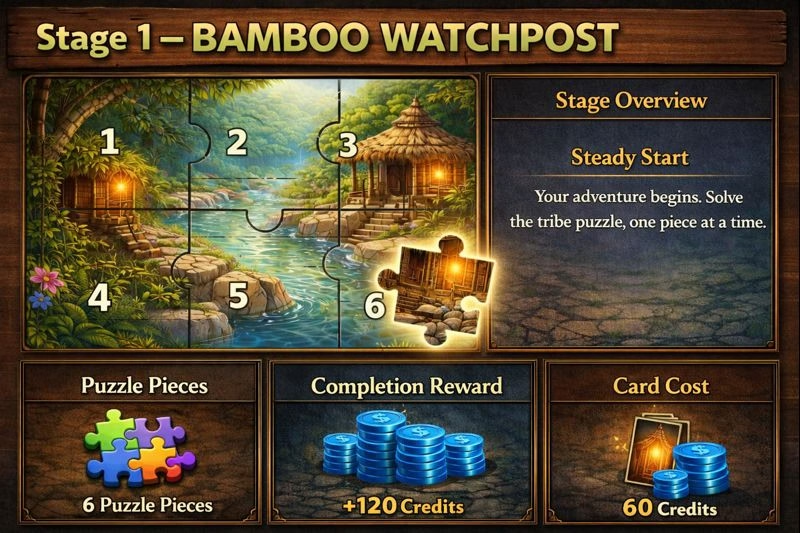
Bamboo Watchpost is KIVA’s entry point. It’s not about brute forcing — it’s about proving you can play clean without panic retries the moment something doesn’t go your way.
- Puzzle pieces in this stage: 6 pieces
- Stage completion reward (one-time): +120 credits
- Card cost: 5 credits
Stage 2 — Riverstone Dock
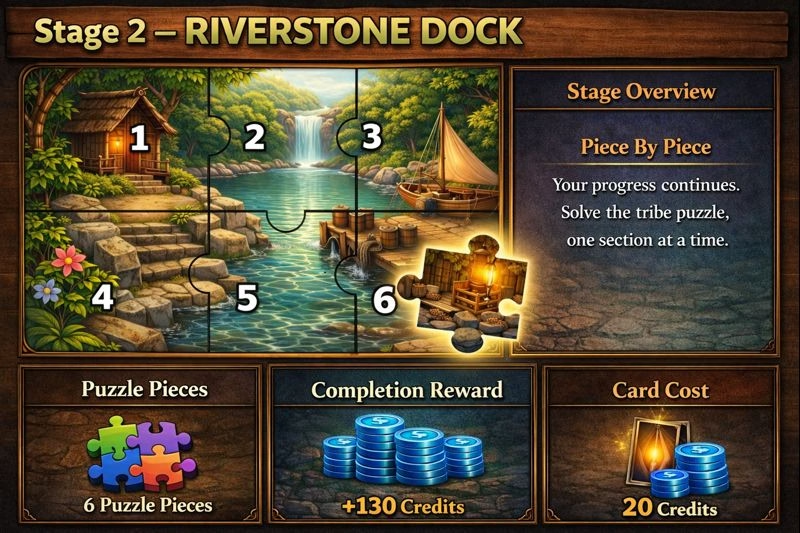
Riverstone Dock tests your rhythm. Players who climb smoothly here aren’t rushing — they’re repeating consistent clears and stopping early when their focus drops.
- Puzzle pieces in this stage: 6 pieces
- Stage completion reward (one-time): +130 credits
- Card cost: 10 credits
Stage 3 — Canopy Ladderway
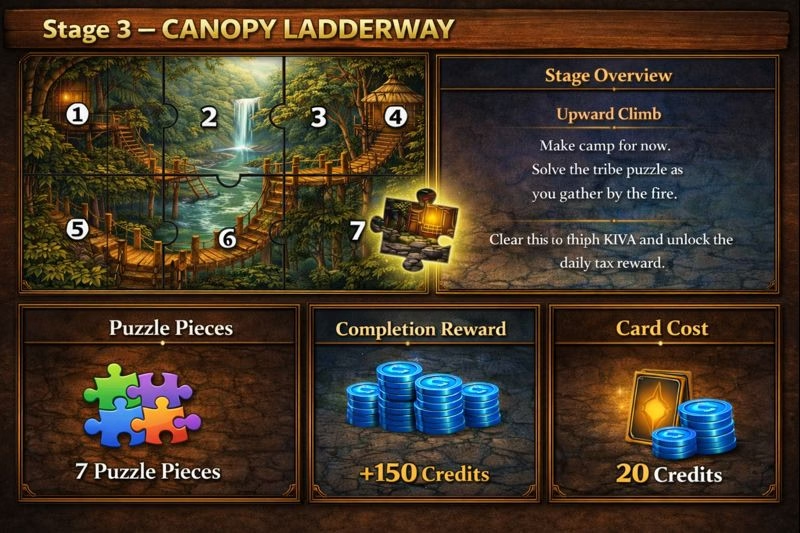
Canopy Ladderway is your first pressure bump. Autopilot mistakes start costing more, so this stage rewards players who slow down and treat every run like it matters.
- Puzzle pieces in this stage: 7 pieces
- Stage completion reward (one-time): +140 credits
- Card cost: 15 credits
Stage 4 — Drumleaf Camp
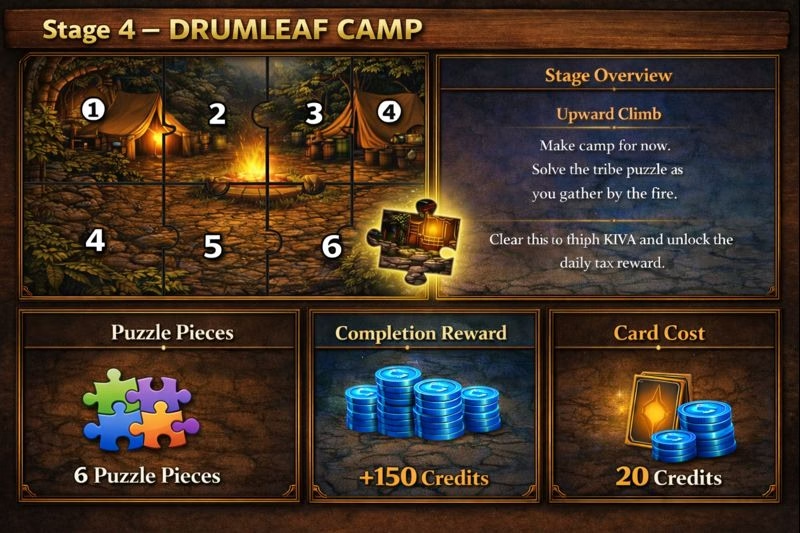
Drumleaf Camp is where KIVA starts feeling “real.” If your credits are unstable, this stage exposes it fast. The clean way to progress is short bursts — attempt, reset, return.
- Puzzle pieces in this stage: 7 pieces
- Stage completion reward (one-time): +150 credits
- Card cost: 20 credits
Stage 5 — Mistgrove Market
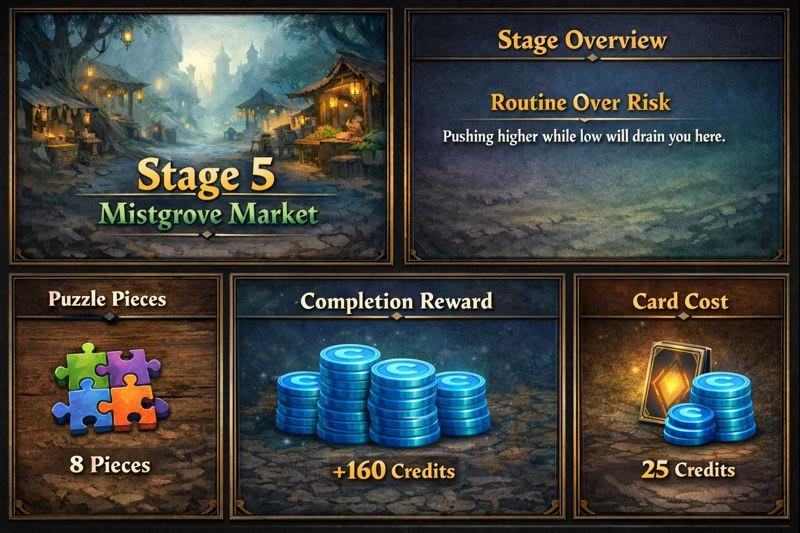
Mistgrove Market is where routine matters more than confidence. Players who keep pushing higher while low usually feel the drain here first.
- Puzzle pieces in this stage: 8 pieces
- Stage completion reward (one-time): +160 credits
- Card cost: 25 credits
Stage 6 — Vinebridge Run
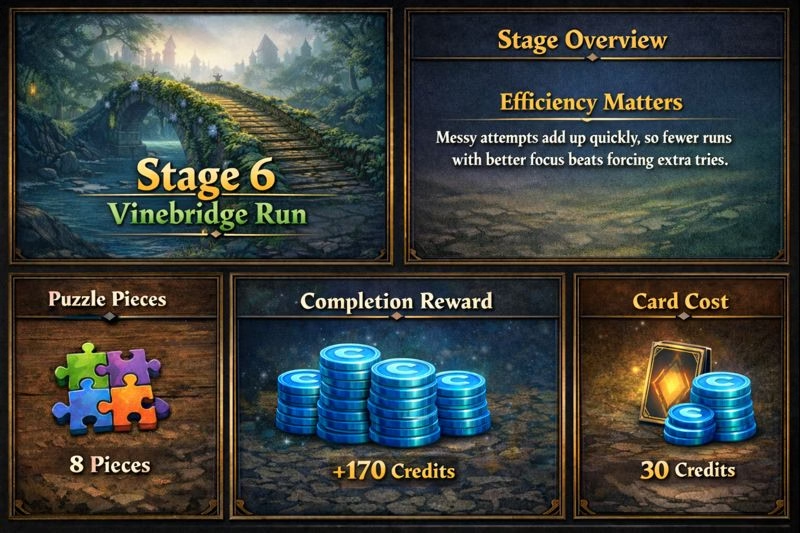
Vinebridge Run is an efficiency check. Messy attempts add up quickly, so fewer runs with better focus beats forcing extra tries.
- Puzzle pieces in this stage: 8 pieces
- Stage completion reward (one-time): +170 credits
- Card cost: 30 credits
Stage 7 — Cliffroot Terrace
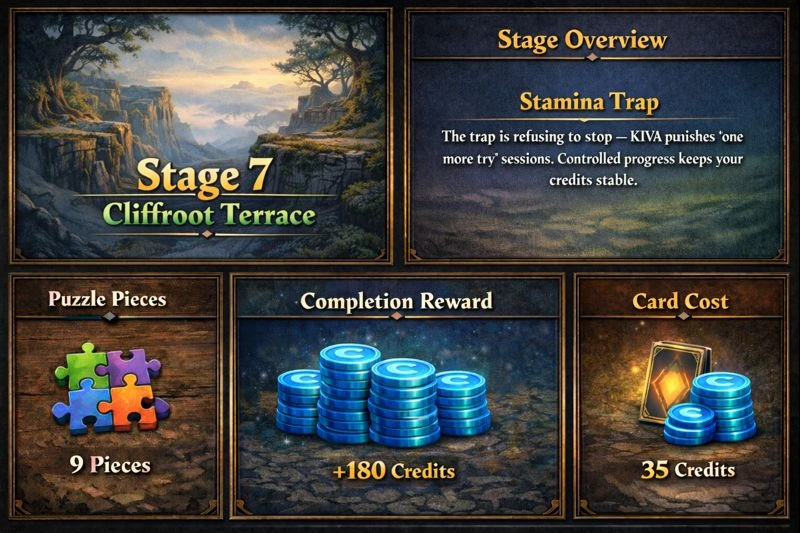
Cliffroot Terrace is the stamina stage. The trap is refusing to stop — KIVA punishes “one more try” sessions. Controlled progress keeps your credits stable.
- Puzzle pieces in this stage: 9 pieces
- Stage completion reward (one-time): +180 credits
- Card cost: 35 credits
Stage 8 — Totemline Ridge
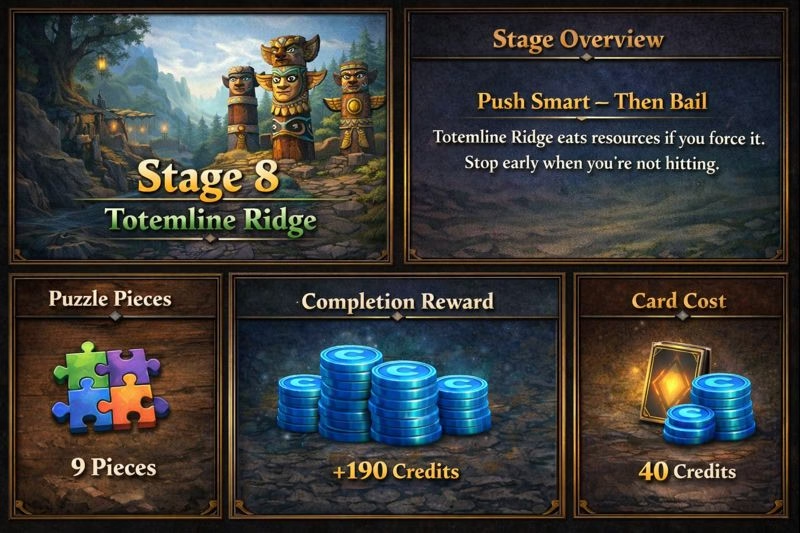
Totemline Ridge is a serious checkpoint. This is where KIVA starts feeling expensive if you force it. Push when your session is going well, and stop early when it isn’t clicking.
- Puzzle pieces in this stage: 9 pieces
- Stage completion reward (one-time): +190 credits
- Card cost: 40 credits
Stage 9 — Moonshade Hollow
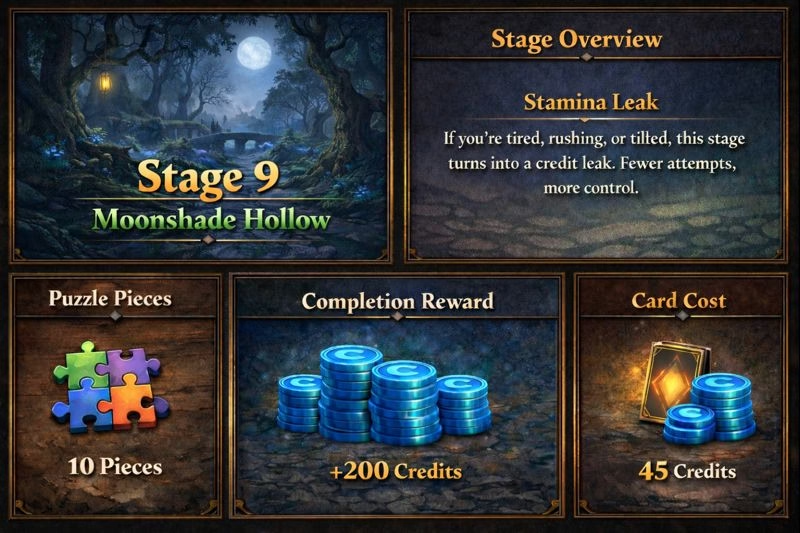
Moonshade Hollow is a focus test. If you’re tired, rushing, or tilted, this stage turns into a credit leak. Fewer attempts, more control.
- Puzzle pieces in this stage: 10 pieces
- Stage completion reward (one-time): +200 credits
- Card cost: 45 credits
Stage 10 — Emberbark Outpost
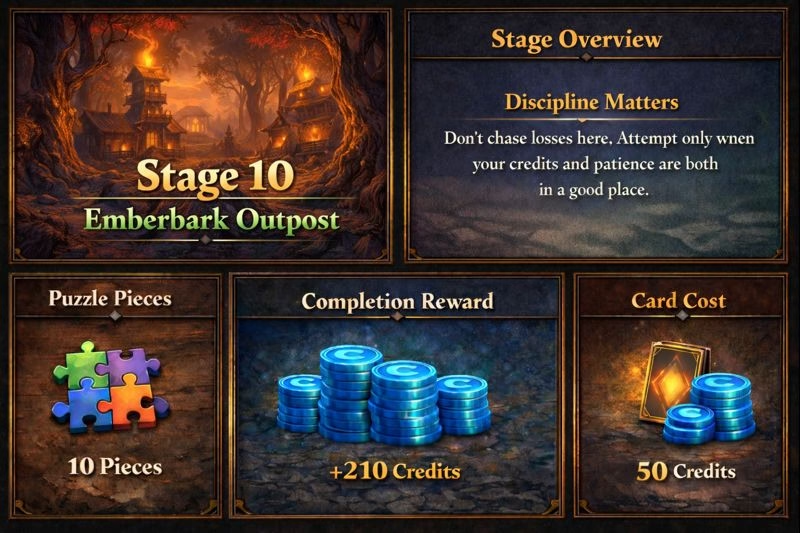
Emberbark Outpost is the discipline stage. Don’t chase losses here. Attempt only when your credits and patience are both in a good place.
- Puzzle pieces in this stage: 10 pieces
- Stage completion reward (one-time): +210 credits
- Card cost: 50 credits
Stage 11 — Thunderbloom Gate
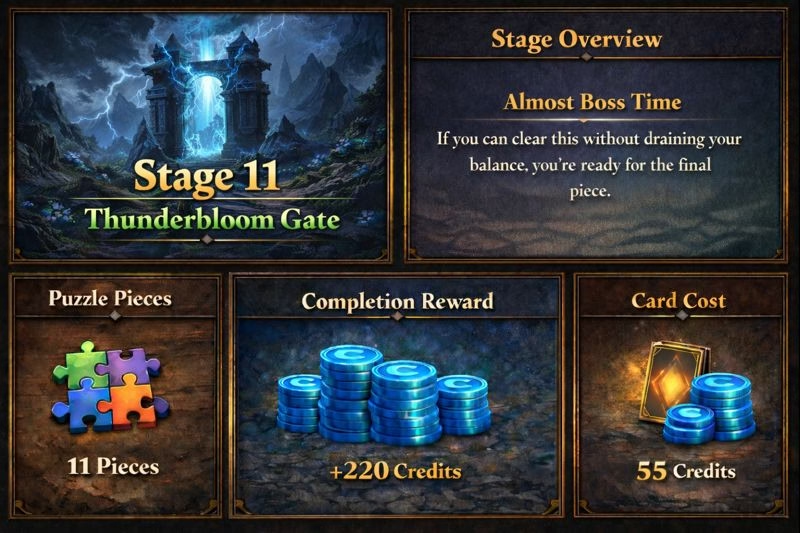
Thunderbloom Gate is the final checkpoint before KIVA. If you can clear this without draining your balance, you’re ready for the final piece.
- Puzzle pieces in this stage: 11 pieces
- Stage completion reward (one-time): +220 credits
- Card cost: 55 credits
Stage 12 — KIVA (Final Piece)
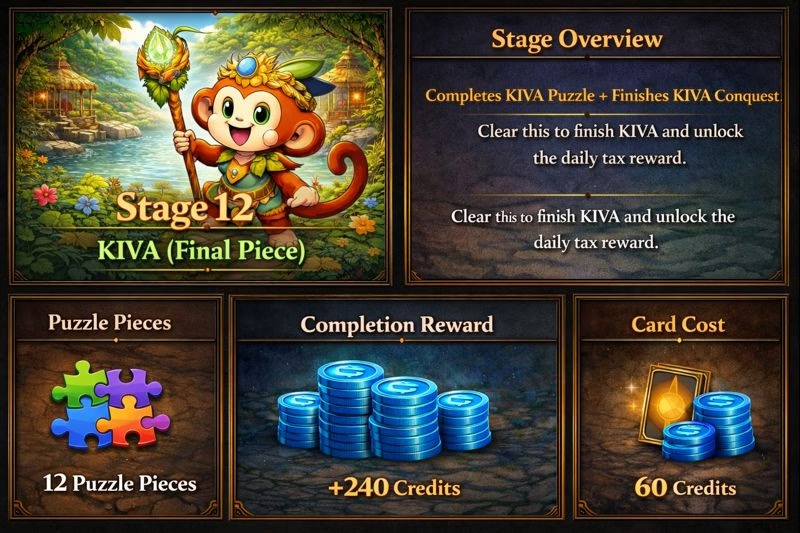
Stage 12 is KIVA. This is the final stage that completes the tribe puzzle — where the remaining pieces lock in and the conquest becomes official. Clear this to finish KIVA and unlock the daily tax reward.
- Puzzle pieces in this stage: 12 pieces (final pieces that complete KIVA)
- Stage completion reward (one-time): +240 credits
- Card cost: 60 credits
- ✅ Completes KIVA puzzle + finishes KIVA conquest
KIVA data table (complete)
| Stage | Stage Name | Card Cost | Puzzle Pieces | One-time Reward |
|---|---|---|---|---|
| 1 | Bamboo Watchpost | 5 | 6 | +120 |
| 2 | Riverstone Dock | 10 | 6 | +130 |
| 3 | Canopy Ladderway | 15 | 7 | +140 |
| 4 | Drumleaf Camp | 20 | 7 | +150 |
| 5 | Mistgrove Market | 25 | 8 | +160 |
| 6 | Vinebridge Run | 30 | 8 | +170 |
| 7 | Cliffroot Terrace | 35 | 9 | +180 |
| 8 | Totemline Ridge | 40 | 9 | +190 |
| 9 | Moonshade Hollow | 45 | 10 | +200 |
| 10 | Emberbark Outpost | 50 | 10 | +210 |
| 11 | Thunderbloom Gate | 55 | 11 | +220 |
| 12 | KIVA | 60 | 12 | +240 |
Total one-time completion rewards (all stages): 2,110 credits
A simple KIVA daily routine (after you conquer it)
Once KIVA is fully conquered, you can claim 100 credits every day. The clean routine is:
- Claim your KIVA Daily Tax
- Start with a stage you clear reliably (don’t begin with your hardest)
- Push higher stages in short bursts
- Stop while you’re still stable (avoid “one more try” spirals)
Quick KIVA FAQ
Do I need to finish POCA first?
It’s strongly recommended. POCA builds the habits that make KIVA feel manageable.
Why does KIVA feel more expensive even with the same cost scaling as POCA?
Because there are 12 stages instead of 10. More stages means more total progress required, so discipline matters more.
What’s the reward for finishing KIVA?
A daily claim: 100 credits per day, plus full KIVA puzzle completion.