MOKO Tribe Guide
MOKO — The Vine Striker
Traits: fast hands, aggressive combos, loves close combat
Why stronger: MOKO fights like a blur—chain attacks, counters, and ambush takedowns. He wins fights before enemies can set up.
Important note: Credits are an in-game currency used inside Bingo Shake and have no cash value.
What MOKO is
MOKO is the 3rd tribe and it has 12 stages. Each stage gives puzzle pieces and a one-time stage completion reward. Clear all 12 stages to complete the MOKO puzzle and conquer the tribe.
MOKO’s territory is known as the Vinewild—a jungle where vines grow like living weapons. They don’t just hang from trees… they coil, tug, and strike when the territory is threatened.
MOKO structure rules
“Basing” means we keep the structure, not the same stage locations.
- 12 stages
- Puzzle pieces per stage: 6 / 6 / 7 / 7 / 8 / 8 / 9 / 9 / 10 / 10 / 11 / 12
- Card cost: starts at 6 credits on Stage 1, then +1 credit per stage
- Stage completion rewards: ends at Stage 12 = 300, Stage 11 = 280
- Daily Tax after conquest: 200 credits/day
What you unlock after fully conquering MOKO
✅ MOKO Daily Tax (Contribution): 200 credits per day (daily claim)
MOKO conquest overview (how it works)
- MOKO has 12 stages
- Each stage gives puzzle pieces + a one-time completion reward
- Finish all 12 stages to complete the full MOKO puzzle and conquer the tribe
MOKO stages (1–12) — territory + rewards
Stage 1 — Vinewake Watchpost
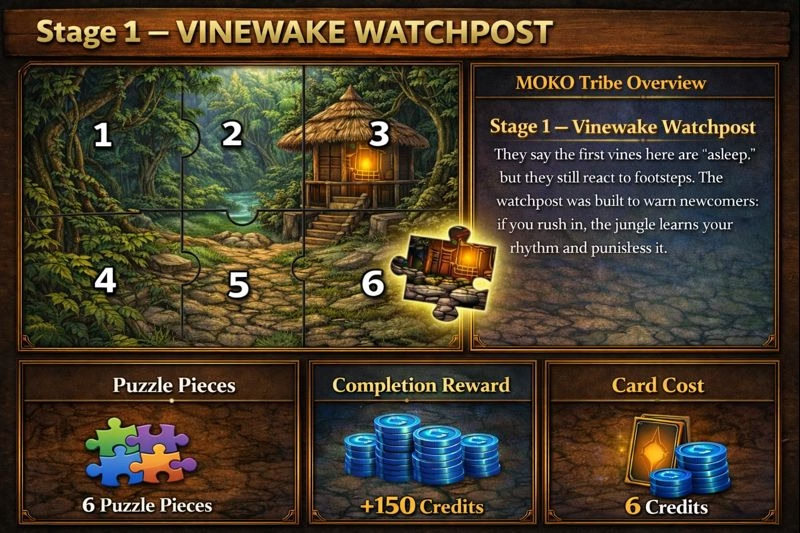
They say the first vines here are “asleep,” but they still react to footsteps. The watchpost was built to warn newcomers: if you rush in, the jungle learns your rhythm and punishes it.
Puzzle pieces in this stage: 6 pieces
Stage completion reward (one-time): +150 credits
Card cost: 6 credits
Stage 2 — Razor-Reed Dock
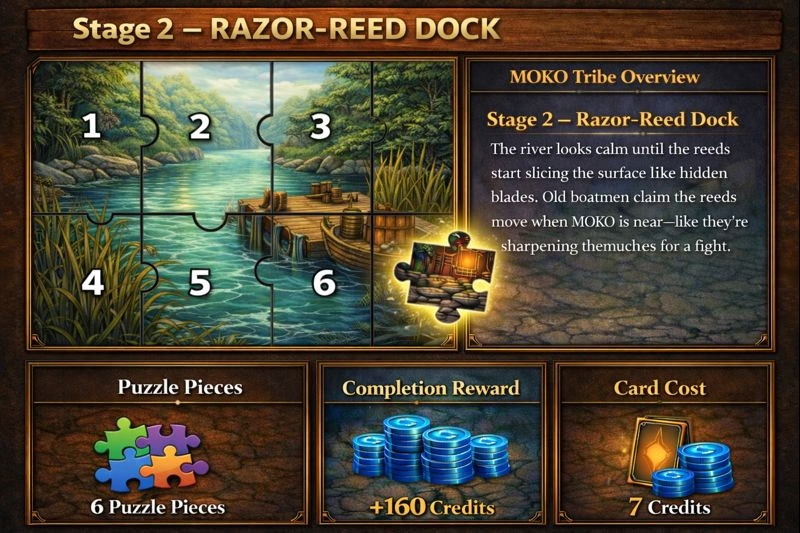
The river looks calm until the reeds start slicing the surface like hidden blades. Old boatmen claim the reeds move when MOKO is near—like they’re sharpening themselves for a fight.
Puzzle pieces in this stage: 6 pieces
Stage completion reward (one-time): +160 credits
Card cost: 7 credits
Stage 3 — Canopy Dashway
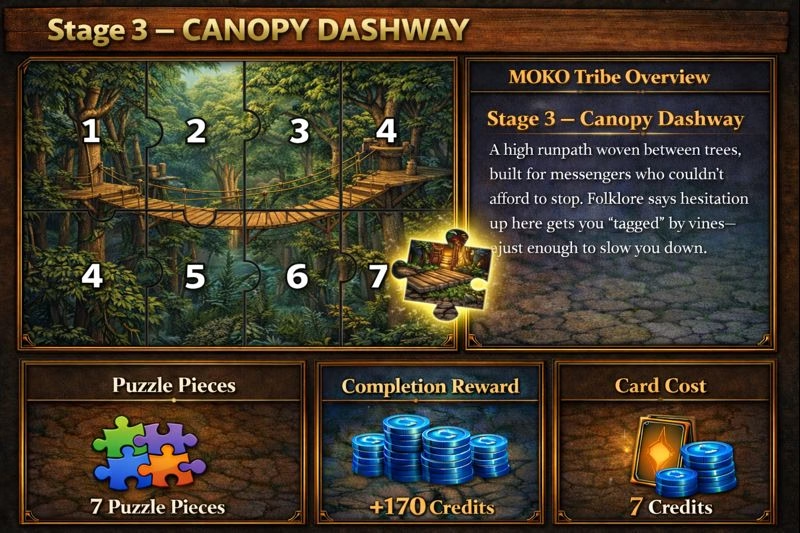
A high runpath woven between trees, built for messengers who couldn’t afford to stop. Folklore says hesitation up here gets you “tagged” by vines—just enough to slow you down.
Puzzle pieces in this stage: 7 pieces
Stage completion reward (one-time): +170 credits
Card cost: 8 credits
Stage 4 — Striker’s Clearing
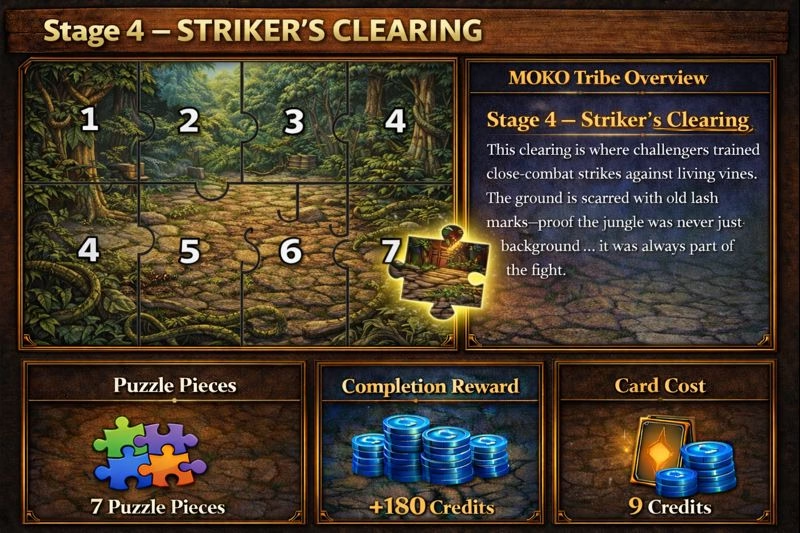
This clearing is where challengers trained close-combat strikes against living vines. The ground is scarred with old lash marks—proof the jungle was never just background… it was always part of the fight.
Puzzle pieces in this stage: 7 pieces
Stage completion reward (one-time): +180 credits
Card cost: 9 credits
Stage 5 — Thorntrade Market
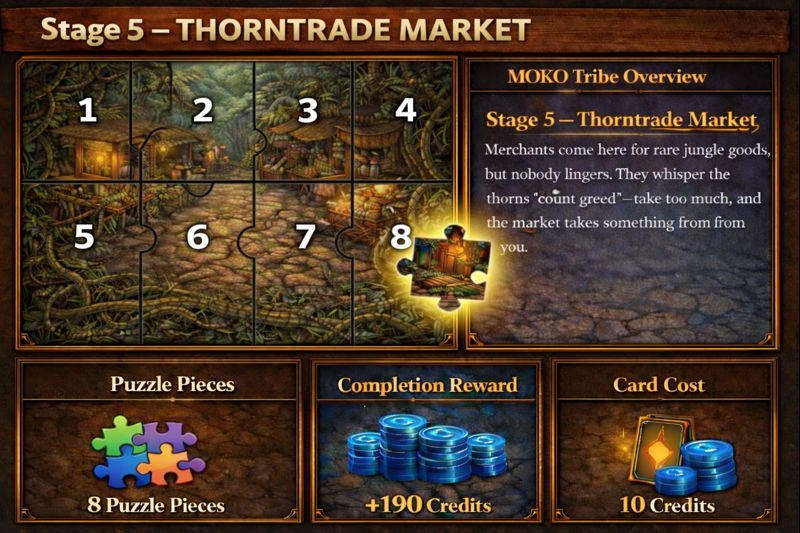
Merchants come here for rare jungle goods, but nobody lingers. They whisper the thorns “count greed”—take too much, and the market takes something back from you.
Puzzle pieces in this stage: 8 pieces
Stage completion reward (one-time): +190 credits
Card cost: 10 credits
Stage 6 — Ropevine Bridge Run
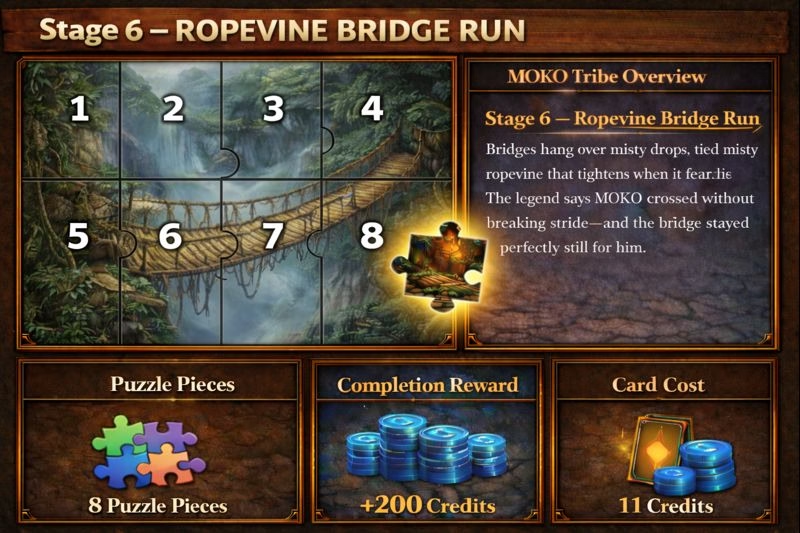
Bridges hang over misty drops, tied with ropevine that tightens when it senses fear. The legend says MOKO crossed without breaking stride—and the bridge stayed perfectly still for him.
Puzzle pieces in this stage: 8 pieces
Stage completion reward (one-time): +200 credits
Card cost: 11 credits
Stage 7 — Cliffpunch Terrace
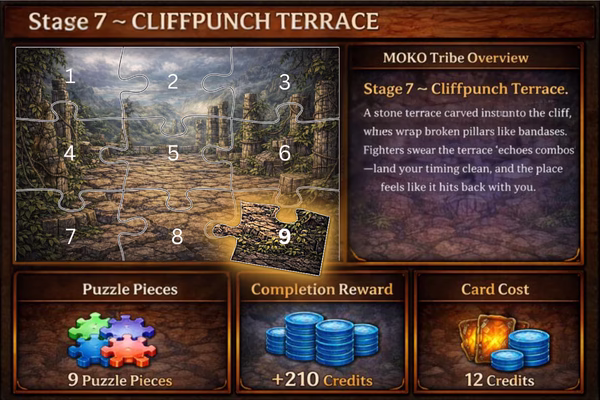
A stone terrace carved into the cliff, where vines wrap broken pillars like bandages. Fighters swear the terrace “echoes combos”—land your timing clean, and the place feels like it hits back with you.
Puzzle pieces in this stage: 9 pieces
Stage completion reward (one-time): +210 credits
Card cost: 12 credits
Stage 8 — Totemtrap Ridge

Totems line the ridge, wrapped in vines that look decorative… until they move. Elders say the ridge tests focus: lose your rhythm, and the vines tighten their rules around you.
Puzzle pieces in this stage: 9 pieces
Stage completion reward (one-time): +220 credits
Card cost: 13 credits
Stage 9 — Moonvine Hollow
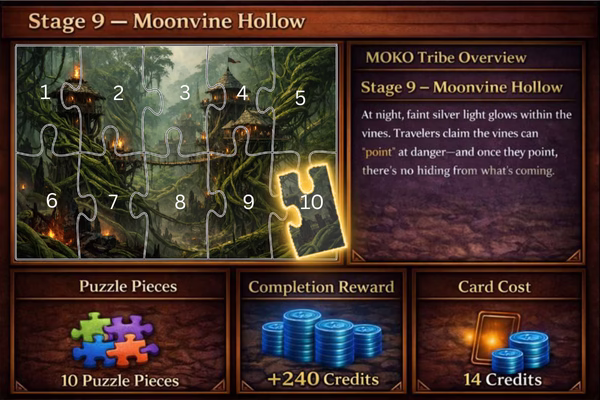
At night, the vines glow faint silver like moonlight trapped inside leaves. Travelers claim the vines can “point” at danger—and once they point, there’s no hiding from what’s coming.
Puzzle pieces in this stage: 10 pieces
Stage completion reward (one-time): +240 credits
Card cost: 14 credits
Stage 10 — Emberroot Outpost

This outpost was built after a wildfire, when the jungle regrew faster than anyone believed possible. The story goes the roots burned—but the vines remembered, and came back meaner than before.
Puzzle pieces in this stage: 10 pieces
Stage completion reward (one-time): +260 credits
Card cost: 15 credits
Stage 11 — Thunderleaf Gate
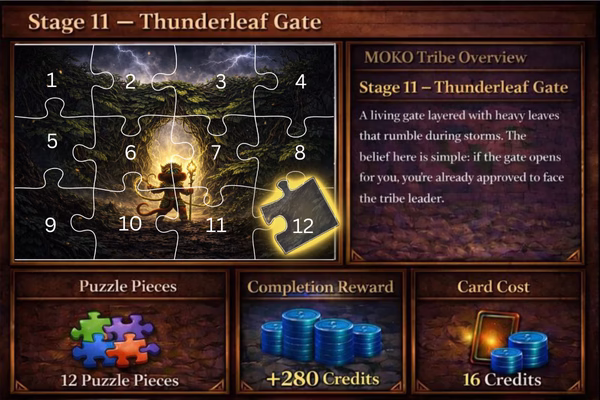
A living gate layered with heavy leaves that rumble during storms. The belief here is simple: if the gate opens for you, you’re already approved to face the tribe leader.
Puzzle pieces in this stage: 12 pieces
Stage completion reward (one-time): +280 credits
Card cost: 16 credits
Stage 12 — MOKO (Final Piece)

This is the heart of the Vinewild—where every vine feels connected like one nervous system. MOKO doesn’t command the jungle here… he fights as part of it, striking like a blur while the vines cut off every escape route. Clear this to finish MOKO and unlock the daily tax reward.
Puzzle pieces in this stage: 12 pieces (final pieces that complete MOKO)
Stage completion reward (one-time): +300 credits
Card cost: 17 credits
✅ Completes MOKO puzzle + finishes MOKO conquest
MOKO data table (complete)
| Stage | Stage Name | Card Cost | Puzzle Pieces | One-time Reward |
|---|---|---|---|---|
| 1 | Vinewake Watchpost | 6 | 6 | +150 |
| 2 | Razor-Reed Dock | 7 | 6 | +160 |
| 3 | Canopy Dashway | 8 | 7 | +170 |
| 4 | Striker’s Clearing | 9 | 7 | +180 |
| 5 | Thorntrade Market | 10 | 8 | +190 |
| 6 | Ropevine Bridge Run | 11 | 8 | +200 |
| 7 | Cliffpunch Terrace | 12 | 9 | +210 |
| 8 | Totemtrap Ridge | 13 | 9 | +220 |
| 9 | Moonvine Hollow | 14 | 10 | +240 |
| 10 | Emberroot Outpost | 15 | 10 | +260 |
| 11 | Thunderleaf Gate | 16 | 12 | +280 |
| 12 | MOKO (Final Piece) | 17 | 12 | +300 |
Total one-time completion rewards (all stages): 2,560 credits
A simple MOKO daily routine (after you conquer it)
Once MOKO is fully conquered, you can claim 200 credits every day. The clean routine is:
- Claim your MOKO Daily Tax (200 credits/day)
- Start with a stage you clear reliably (don’t begin with your hardest)
- Push higher stages in short bursts
- Stop while you’re still stable (avoid “one more try” spirals)
Quick MOKO FAQ
Do I need to finish POCA and KIVA first?
Yes. You must complete the earlier tribes first because they unlock the next tribe/stages. If you haven’t cleared the previous stages, you can’t move forward to MOKO.
Why does MOKO feel more expensive than the earlier tribes?
Because MOKO has 12 stages, and while the increase is only +1 card cost per stage, higher stages still demand more attempts and tighter play.
What’s the reward for finishing MOKO?
A daily claim: 200 credits per day, plus full MOKO puzzle completion.
Disclaimer: This is a free-to-play game. No real-money wagering. Credits are only used inside the game and can’t be exchanged, withdrawn, or converted to anything outside the game.